Inspired by Marianne’s comments on my previous post, I set out to find whether or not the KNK Force can cut photo matboard. Well, guess what? It can!
Check out the video below to see the awesomeness!
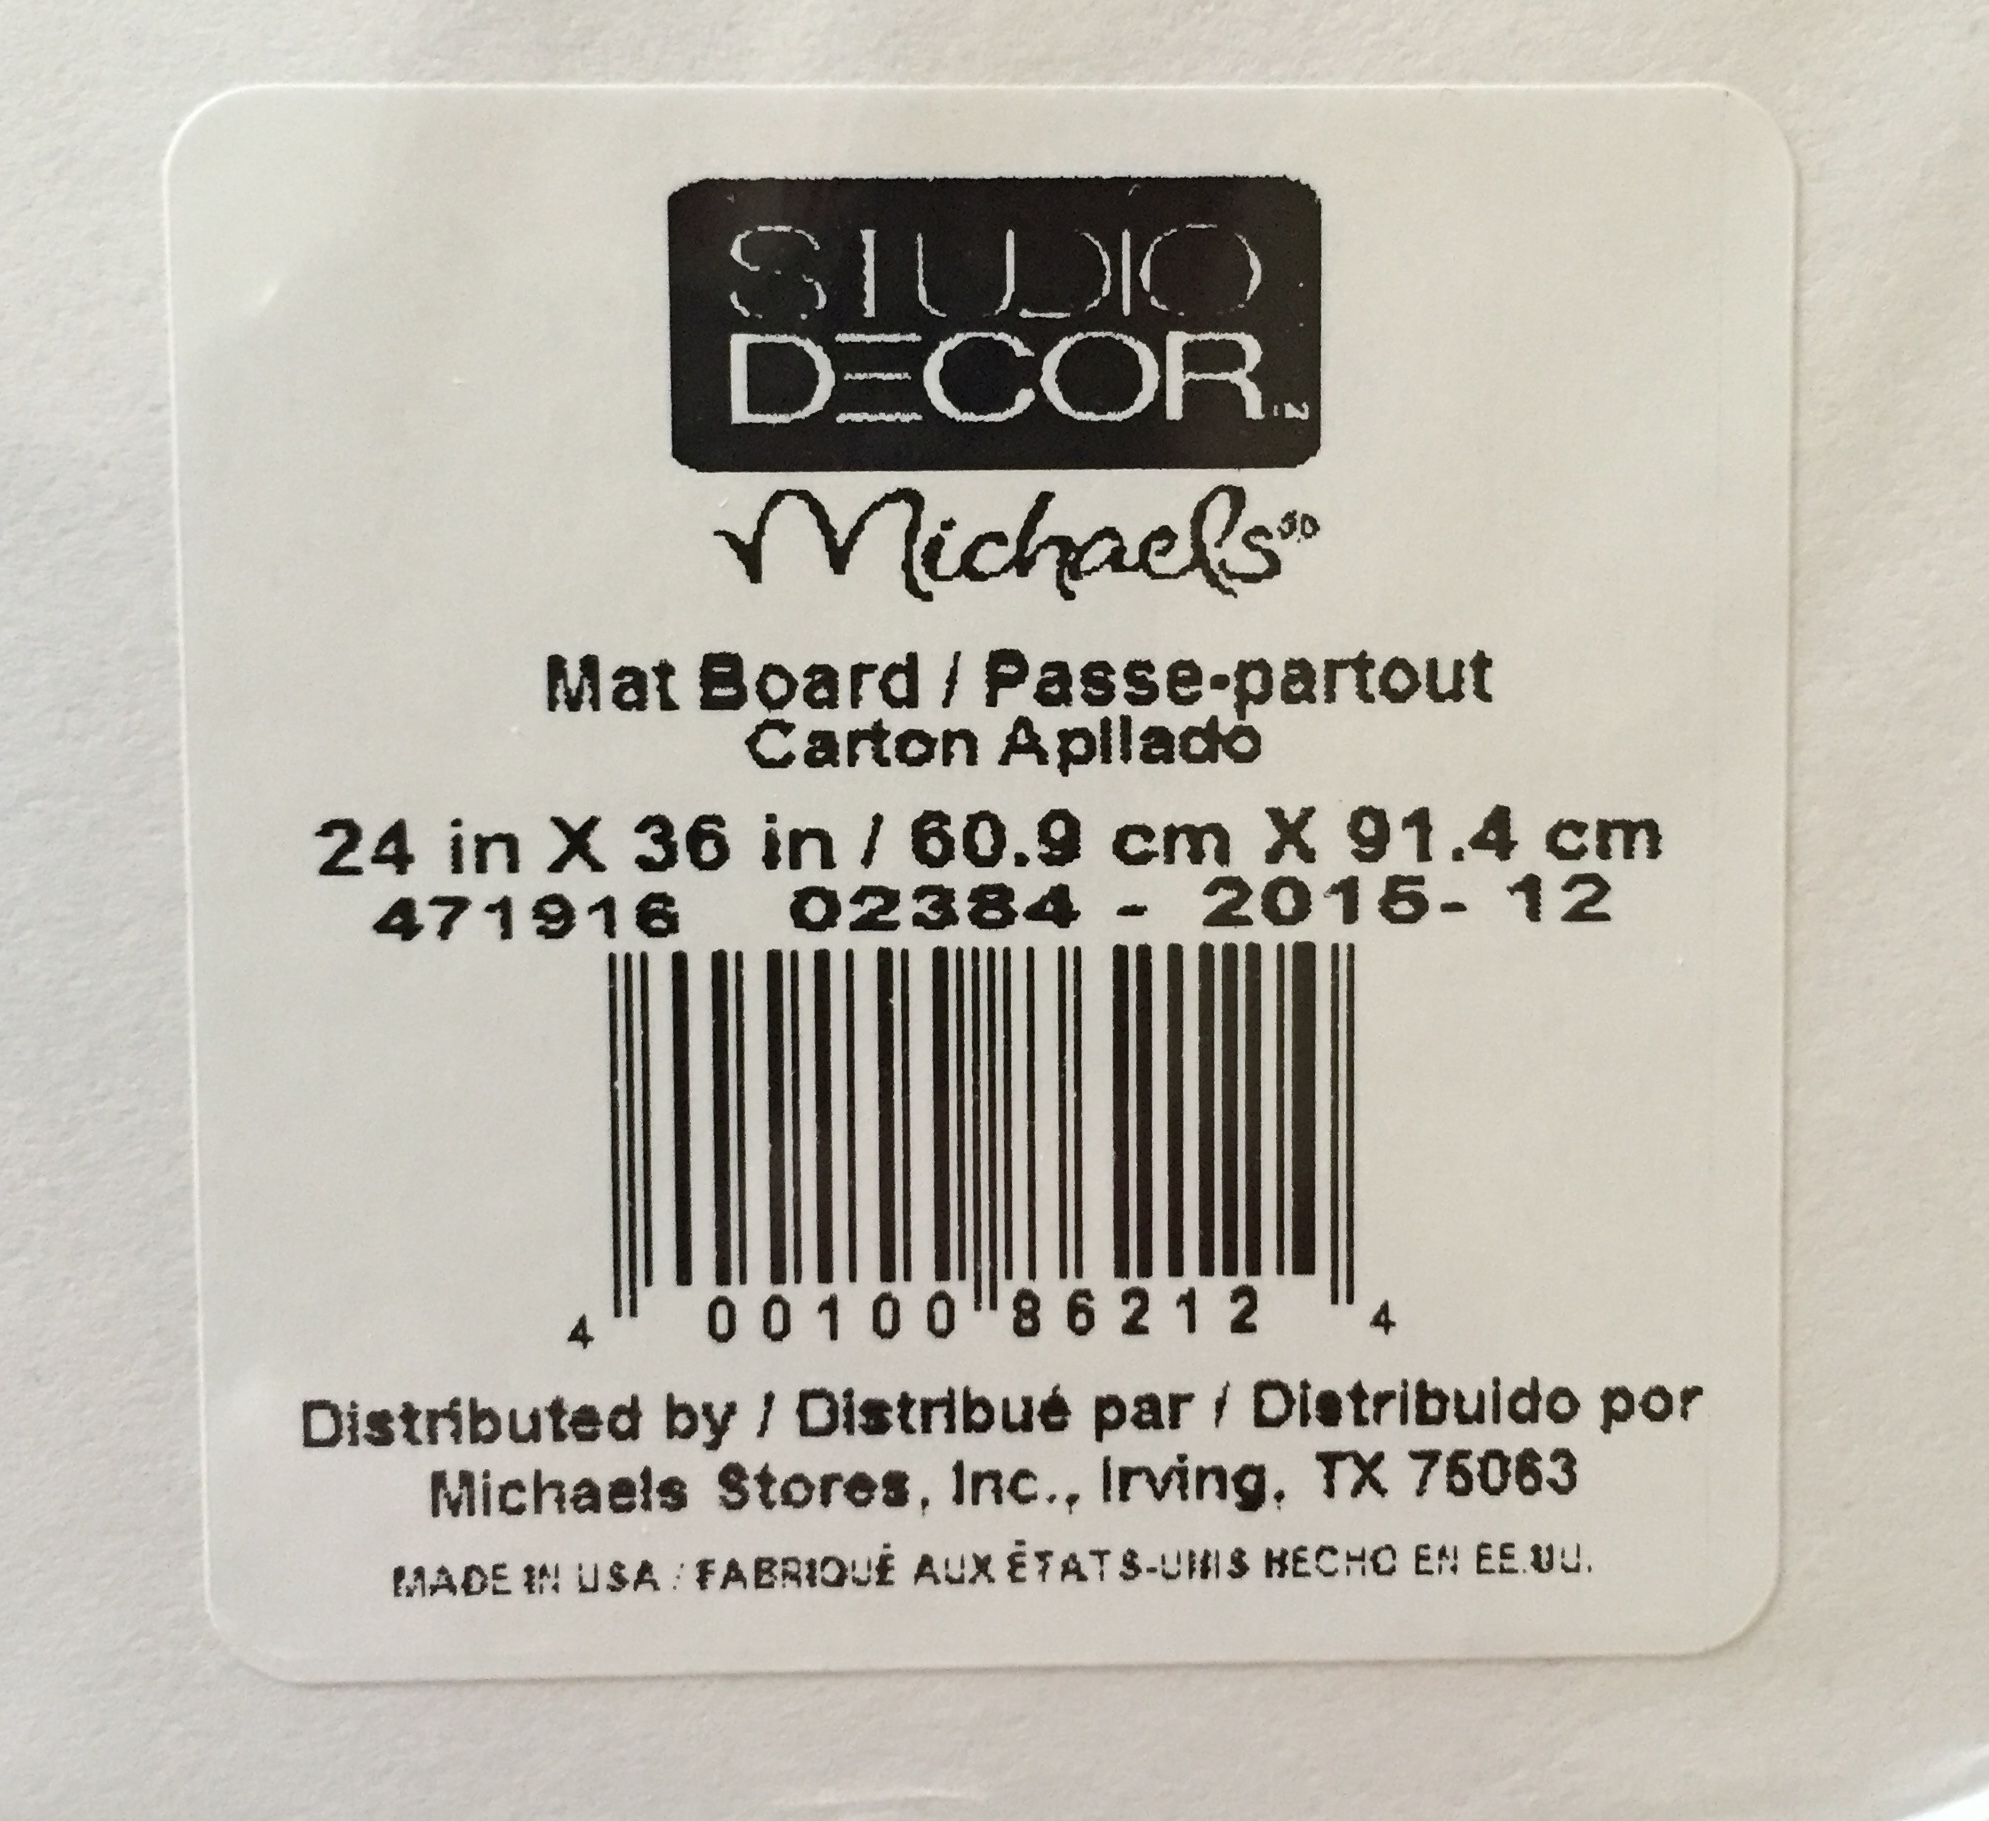
Just so we’re clear with what we’re working with, here’s the product label:
 My caliper measures the material at 1.3mm in thickness.
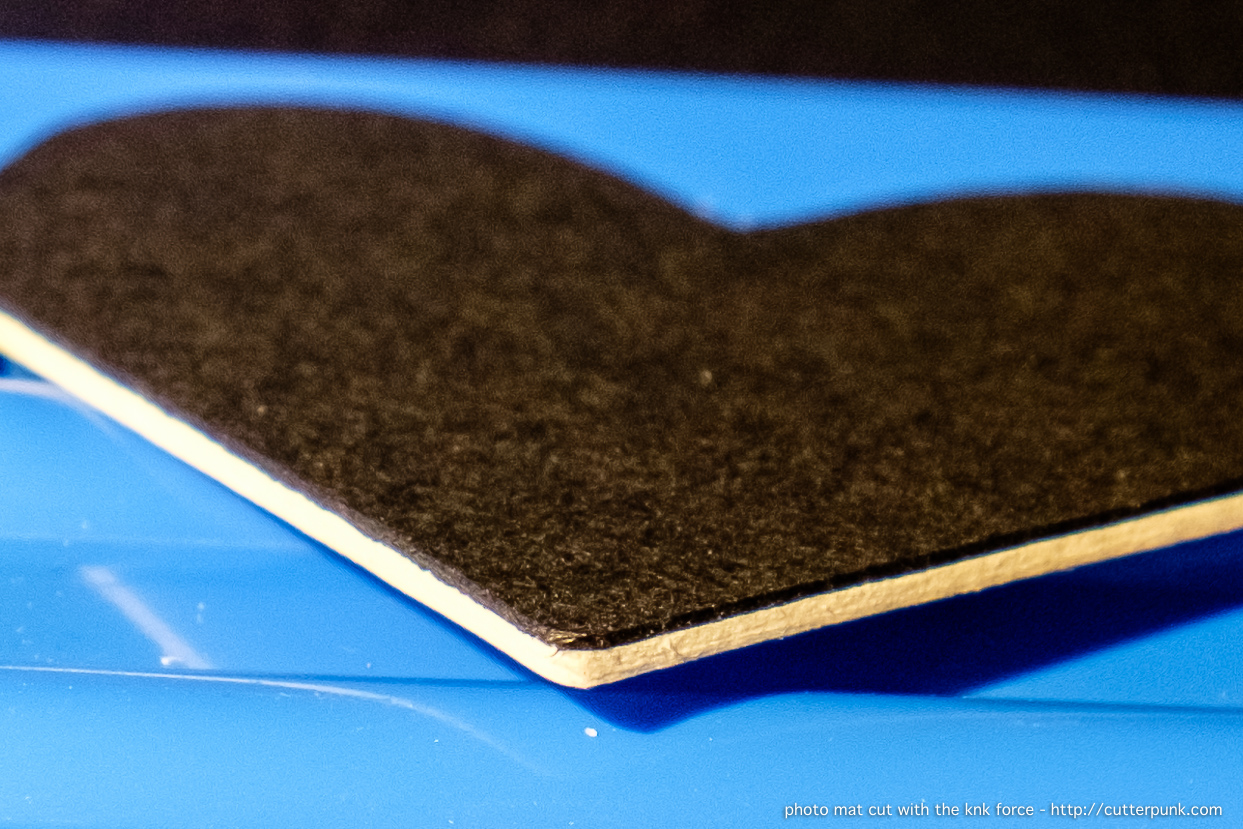
Here are some photos of the finished products. I didn’t file or sand the edges, beyond rubbing my finger on them to get some paper dust off. It does shed a bit while cutting.
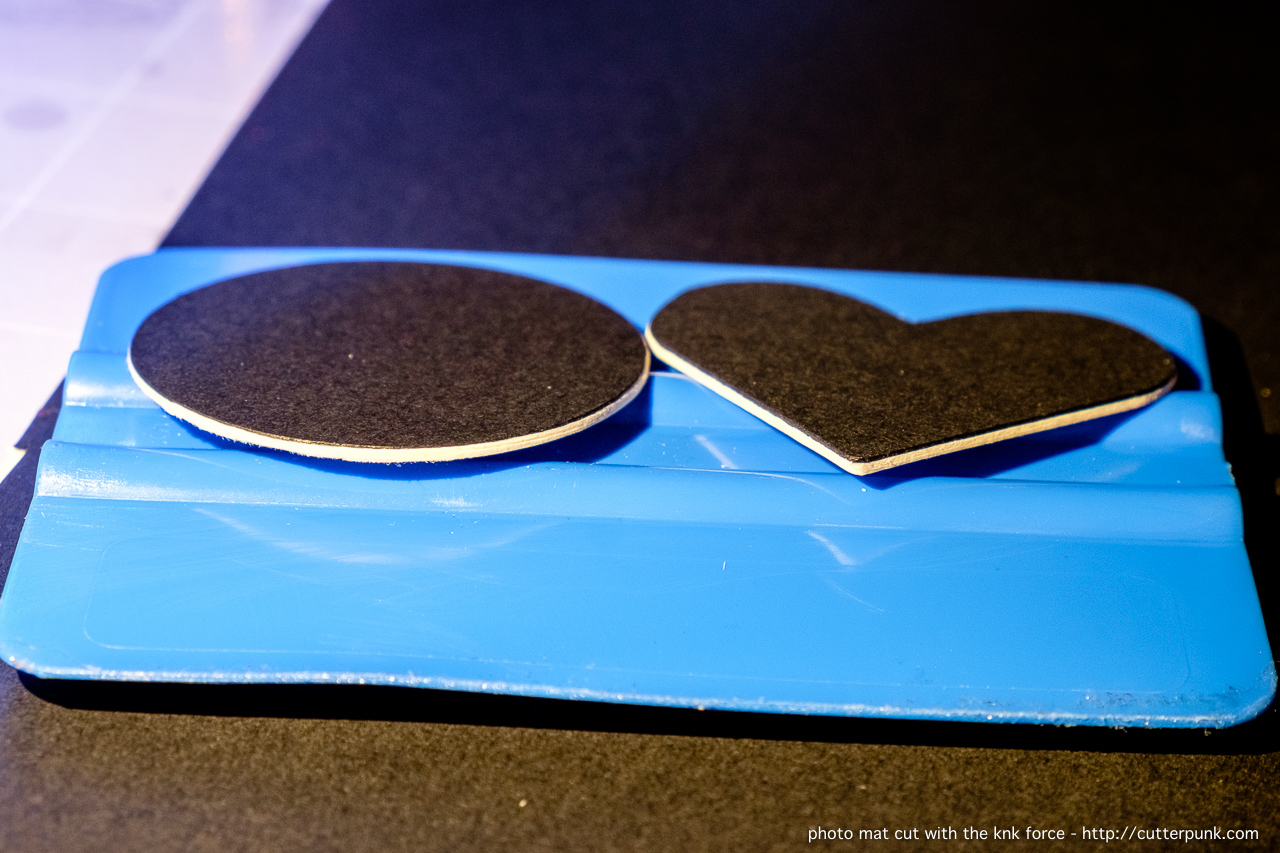
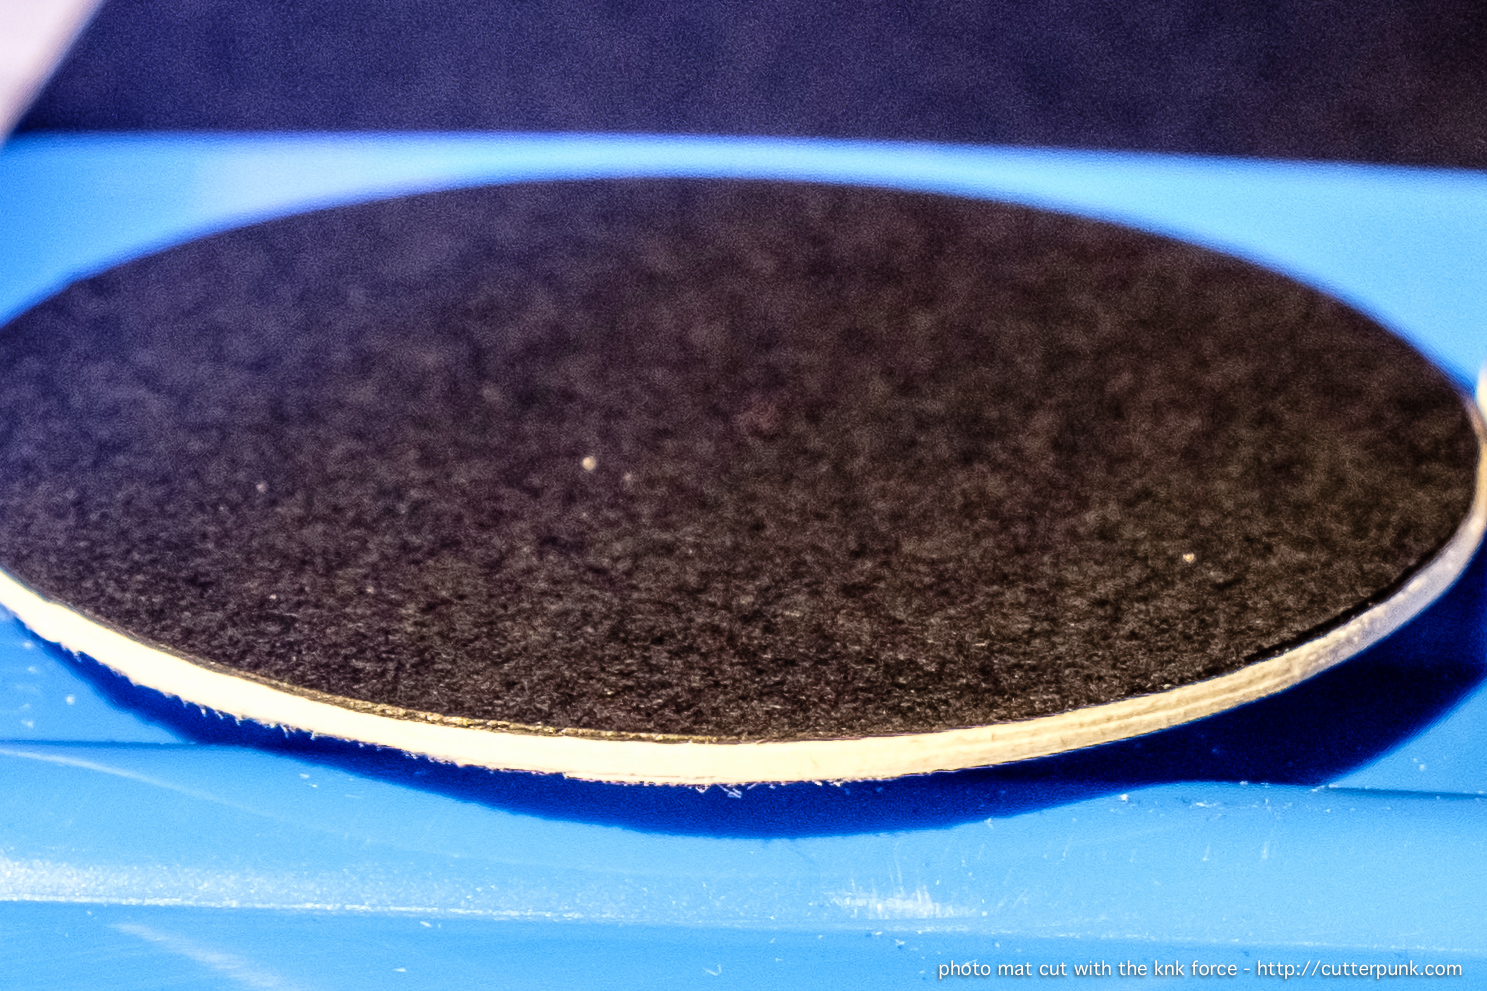

In my testing, I used the fabric, regular, and deep cut blades all three cut the matboard fine. Of my three blade holders, the fabric blade extends the most, so I just went with that one. The white backing paper on the matboard tears easily, so be patient when removing it from your cutting mat.
Cut Settings
Blade Tension: 5
Number of Passes: 4
Starting Depth: 10
Ending Depth: 180
Cutting Speed: 15
Up Speed: 40
Plunge Speed: 10
Lift Speed: 20
Click here for the SVG file used in this test, which was exported from C3 and contains the above cut settings.
Thanks for reading and watching! Keep those comments and questions coming and be sure to check out the KNK Force Facebook Group for more information and to see all the other awesome ways other people are creating with the Force.
—-
P.S: I’ve got affiliate accounts setup with KNK, Make the Cut, Sure Cuts a Lot, Amazon, etc. If you appreciate my content, please consider purchasing things through these links. It doesn’t cost you anything and it directly supports the creation of this content. Thanks in advance for your support!
Comments
Nice! How thick is the material? 1-2mm? Thanks!
It’s 1.3mm thick. I’ve updated the blog post with that info, as well. Thanks, Tonet!
Hmm, I thought I had replied yesterday, but I don’t see it, so it must have gone missing.
This is great!! But…could you also show a square or rectangle with 90 degree corners (not rounded)? That seems to usually give the most problem with leaving a little tag at the last corner. I think that has to do with the angle of the blade edge and it doesn’t finish the cut at the bottom, only at the top. But…it may be that this machine doesn’t have that problem, since you do cut it several times.
This is beautiful. I just ordered some matboard so I can try it. Did you set the origin to the mat or the top of the material?
Hey! Im having trouble of where to start my blade off? I noticed in your video you start it off on the matt? Im getting scraping along the top of my mount board scratching the design when it moves across my mount board to cut a new part of the design! Any ideas?
Make sure you’re setting the z-origin at the appropriate time in the “replace left tool” process. Your blade should have approximately 5mm of clearance above the mat. Given the blade can only cut 2-3mm deep, depending on the material, that should be ample clearance for your blade to pass over the material.
Have you tried cutting Davey board, or book board? It is 0.07 inches thick…
Julie
Hi Julie, I haven’t but am always happy to perform test cuts on any materials sent to me! Is it similar to chipboard?