
Another nifty thing we can apparently do with our KNK Force cutters is make stamps!
Watch the video below for a quick overview and read more about the materials, instructions, and see screenshots of the whole process after that.
Materials List
Preparation
The rubber stamping block should adhere well to a clean,sticky mat on its own. I suggest placing cardstock scraps over the open areas to prevent waste material from sticking to your mat. Less to clean!
Instructions
I used Sure Cuts a Lot for this, but this approach is pretty basic and should work with other software, as well.
Step 1
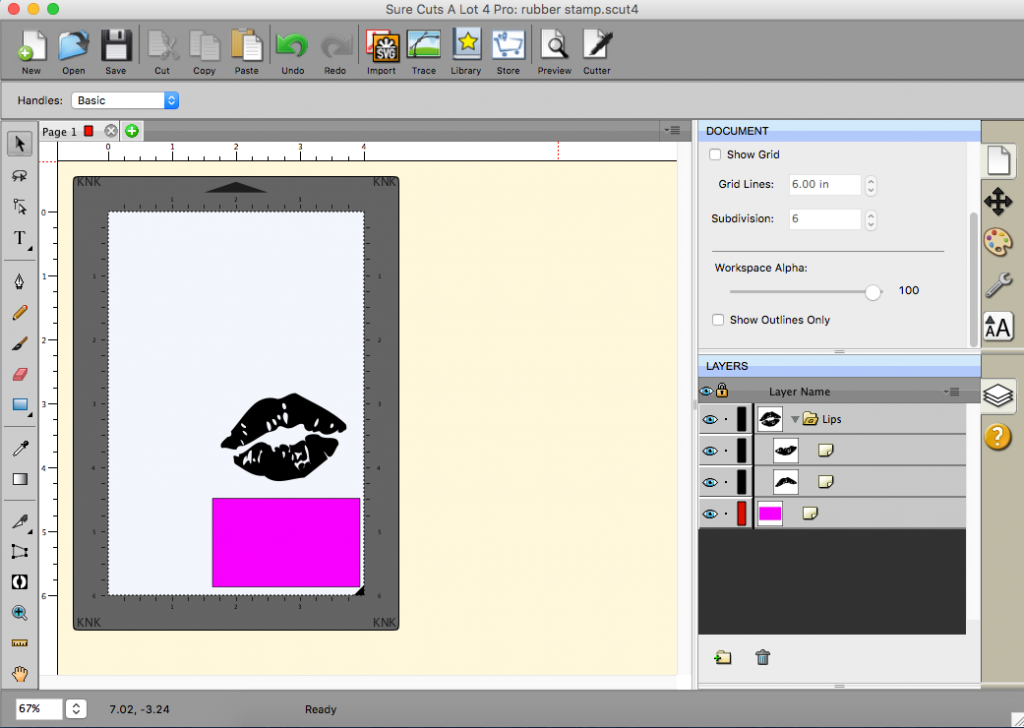
Import the SVG file containing your stamp design.
Draw a shape the size of your desired stamp size.
Step 2
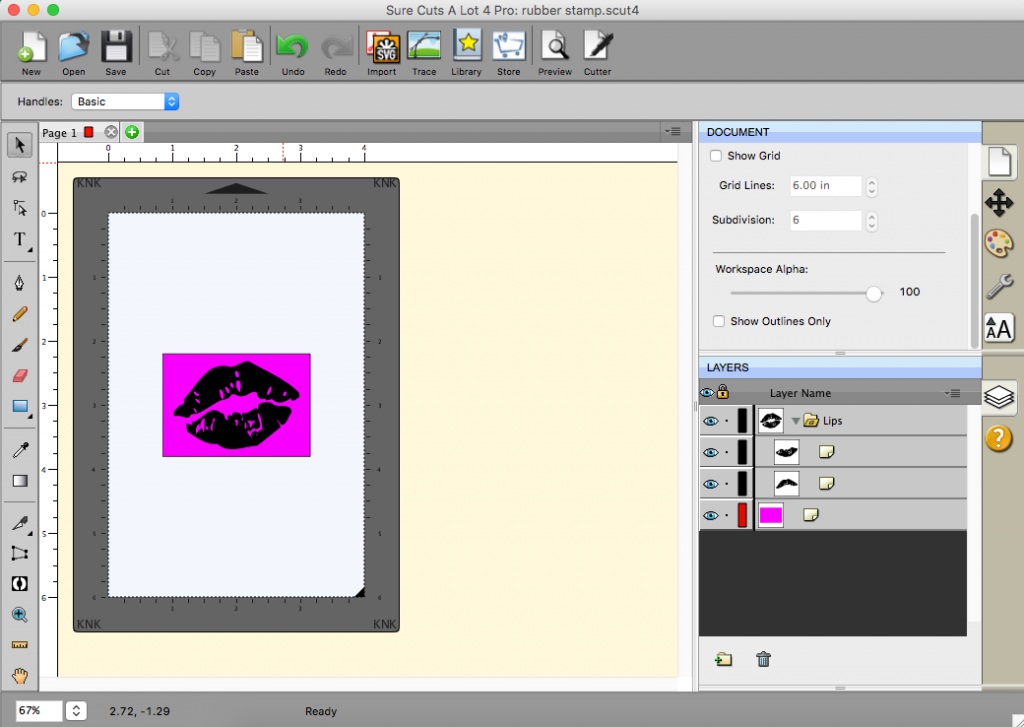
Select All and Align Centers
Step 3
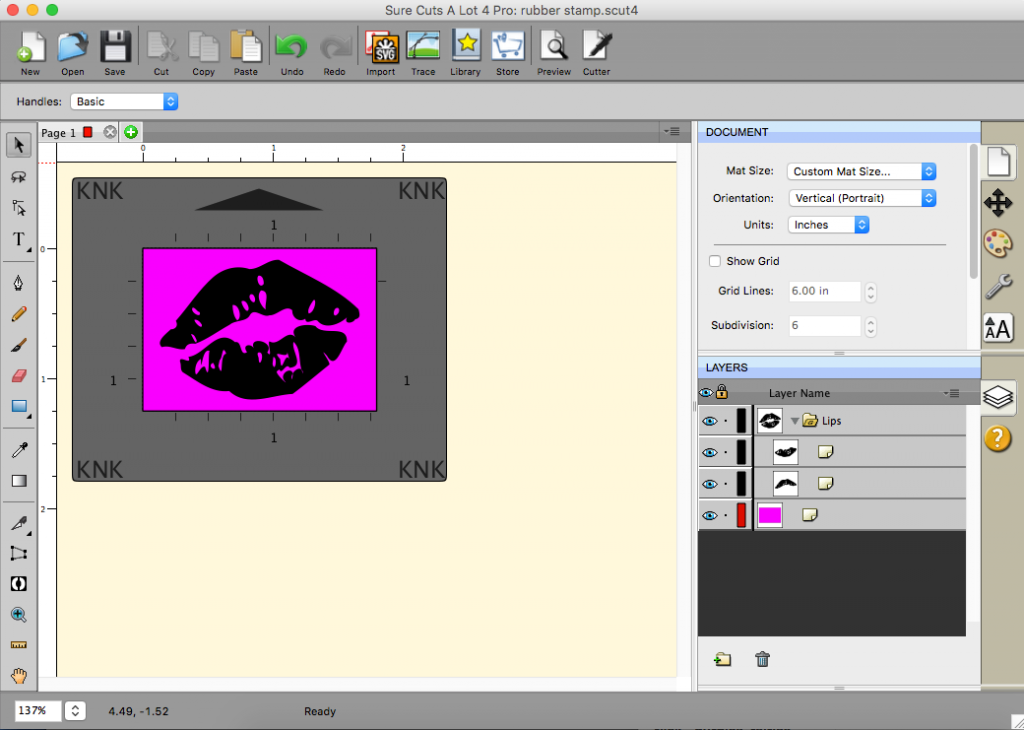
Set your mat size equal to the image size so we don’t export white space and can begin cutting wherever we set the origin.
Select All. In Position & Size, set X and Y to 0. This will bring your cut lines back on the mat.
Step 4
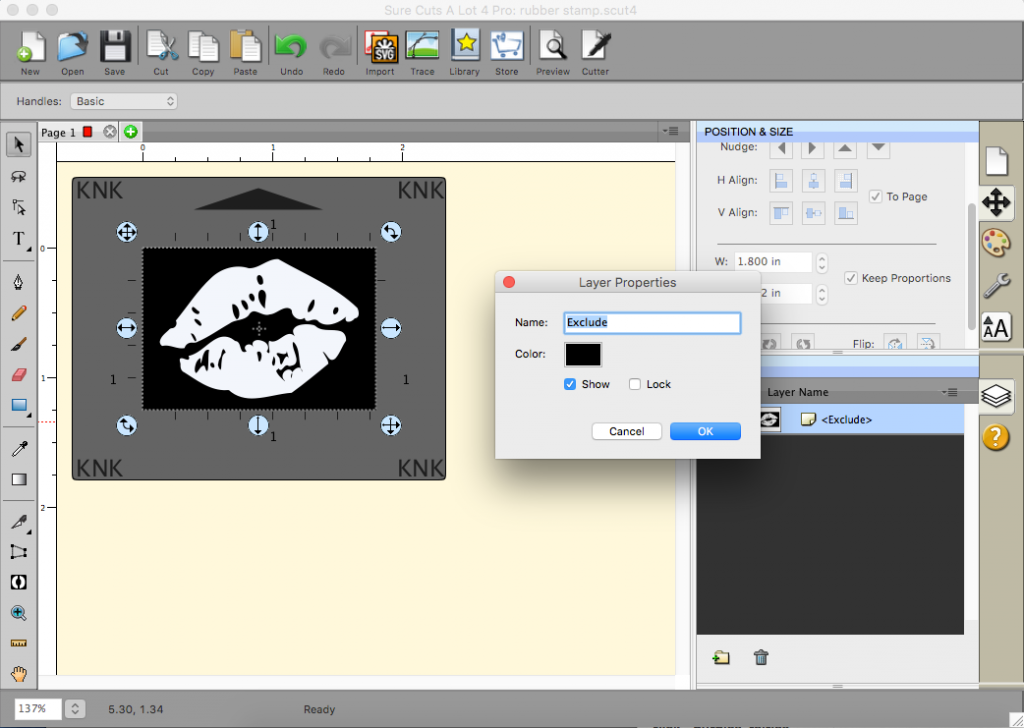
Select All -> Path -> Exclude
In the layer name, remove the brackets and/or rename the layer name. When exporting an SVG, the brackets are included in a string and aren’t being escaped, so it causes a rendering error. If that’s TMI, just don’t use brackets in layer names! 🙂
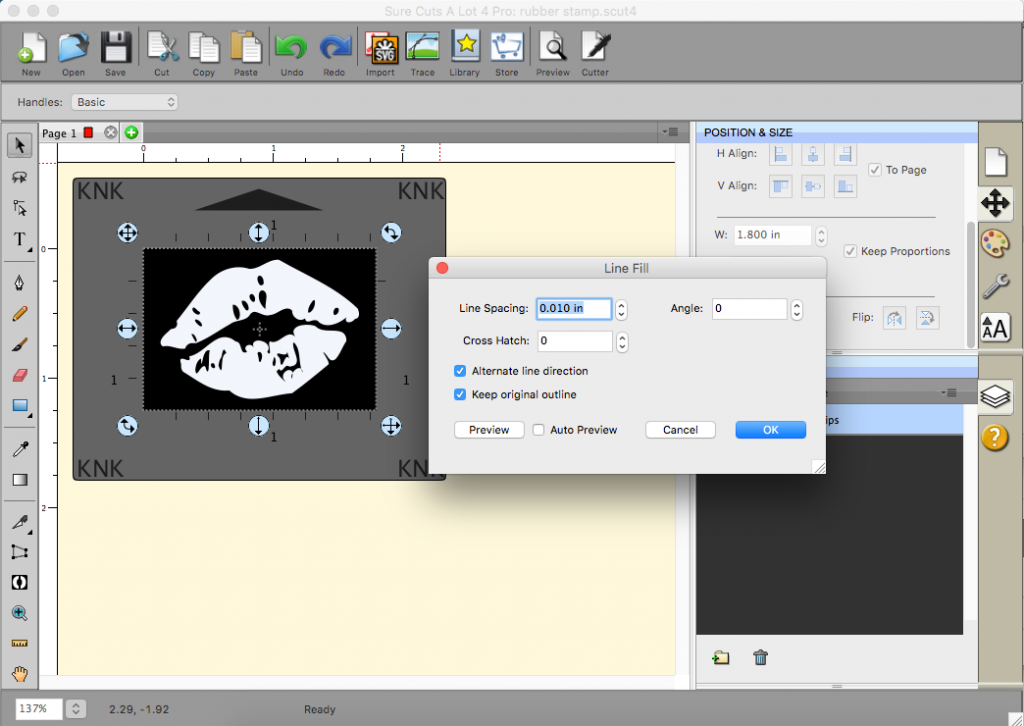
Step 5
Select All
Click Effect -> Line Fill
- Line Spacing 0.010
- Alternate Line Direction
- Keep Original Outline
Step 6
The image didn’t disappear, Select All and set a Stroke Color.

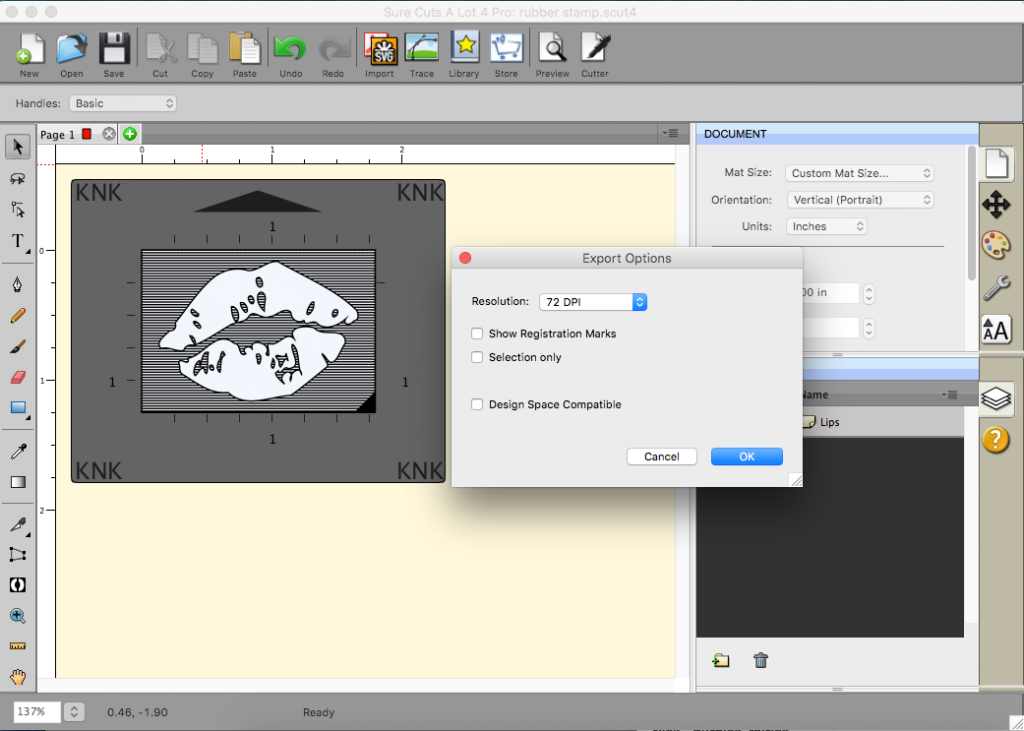
Step 7
Make sure your resolution is 72dpi so C3 imports it at the correct size.
Step 8
Test your design with a pen.
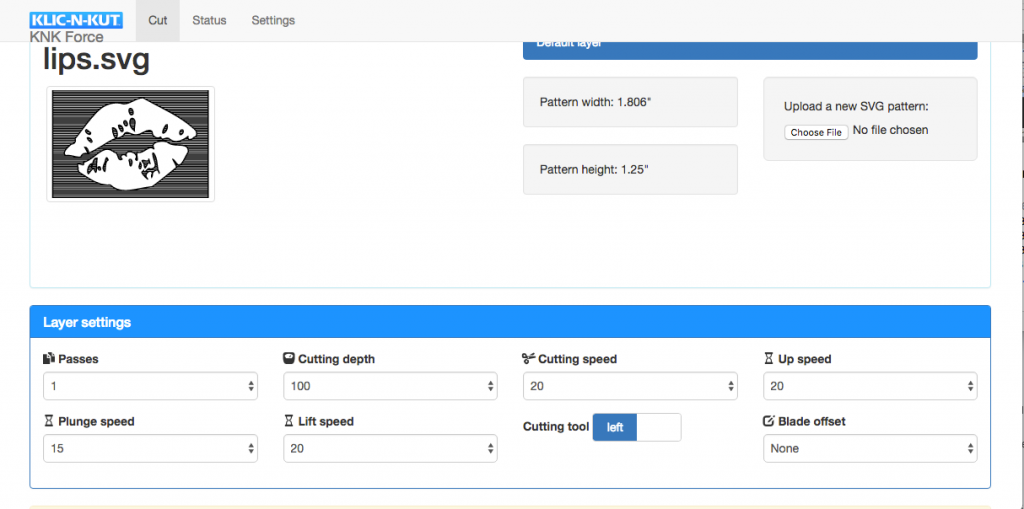
Step 9
Cut with the rotary tool. I had to set my Surface Height to zero because of bit clearance issues. I used the rotary calculator to see what the CD would be if I wanted to cut all the way through. I didn’t, but wanted to know what my upper boundary was. I did several test cuts, starting at 60 and settling on 100 as enough. I used a ball-nosed bit, but will eventually run another test with a straight or pointed bit as I suspect finer detail will be preserved.
Step 10
After the cut job has completed, first use your finger and remove as much waste material as you can. Rolling a bristle brush or light scraping with a small spatula also helps loosen any small bit and even out the surface.
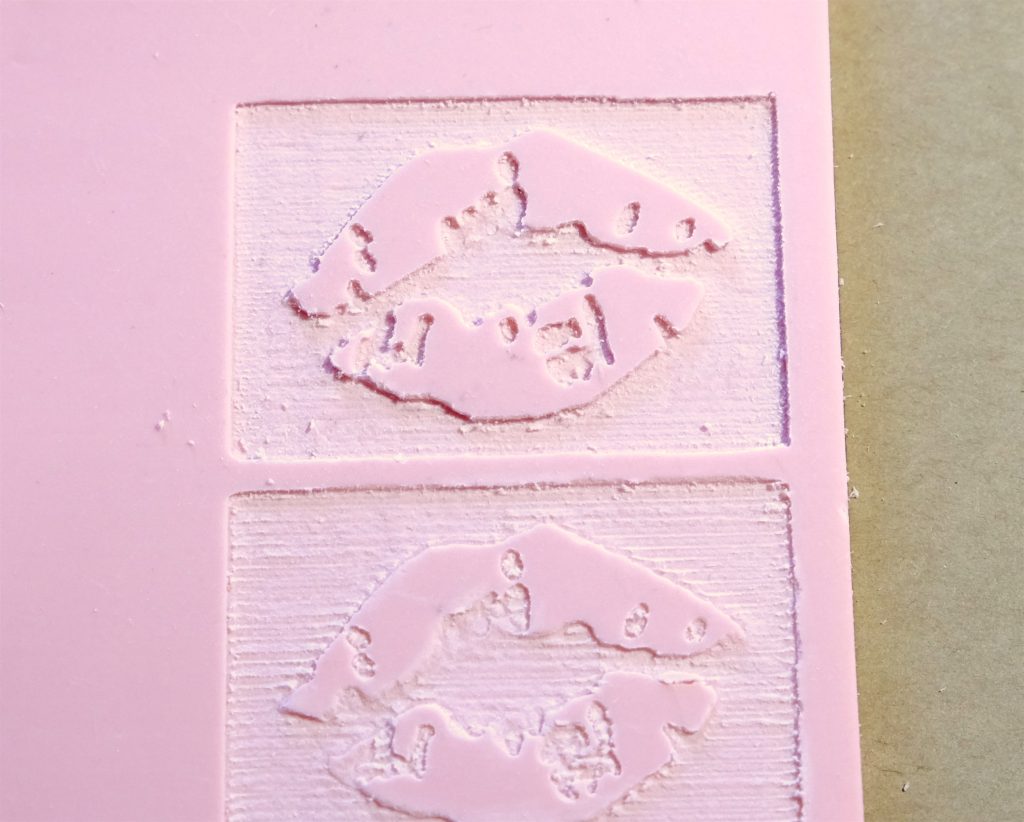
Top cut at CD100. Lower cut at CD80.
Use scissors or a craft/utility knife to cut your shape out of the block and mount it to a piece of wood or acrylic. That’s it!
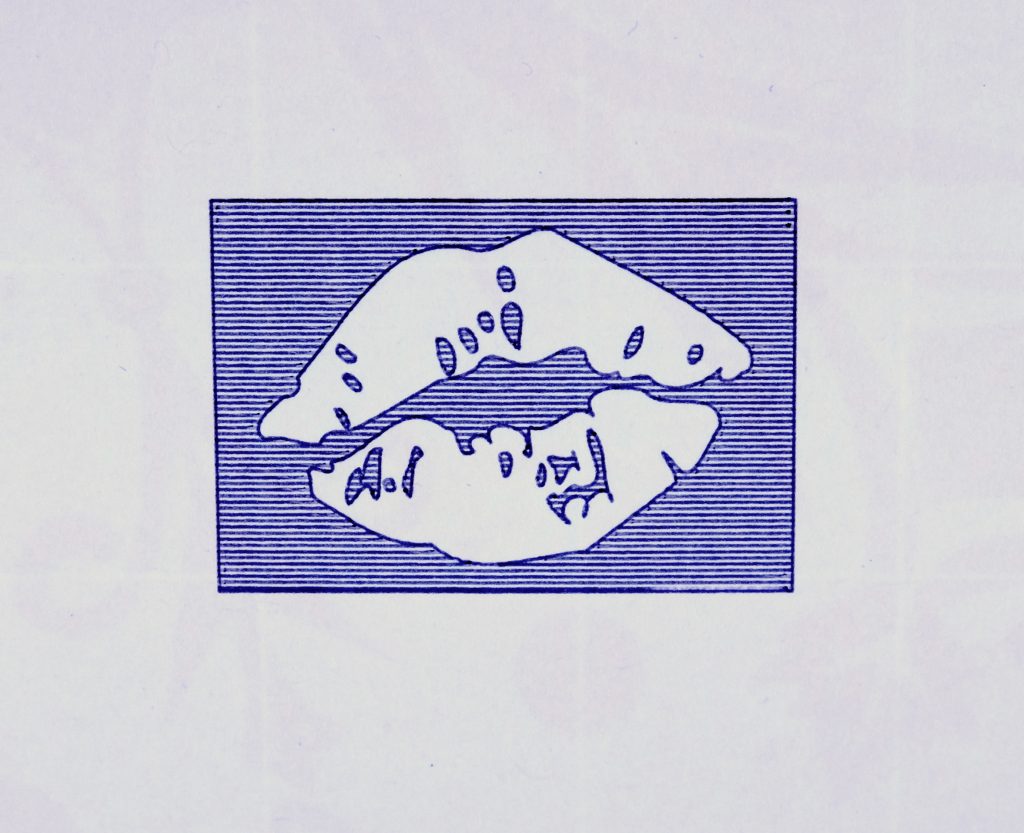
*** You’re Done ***
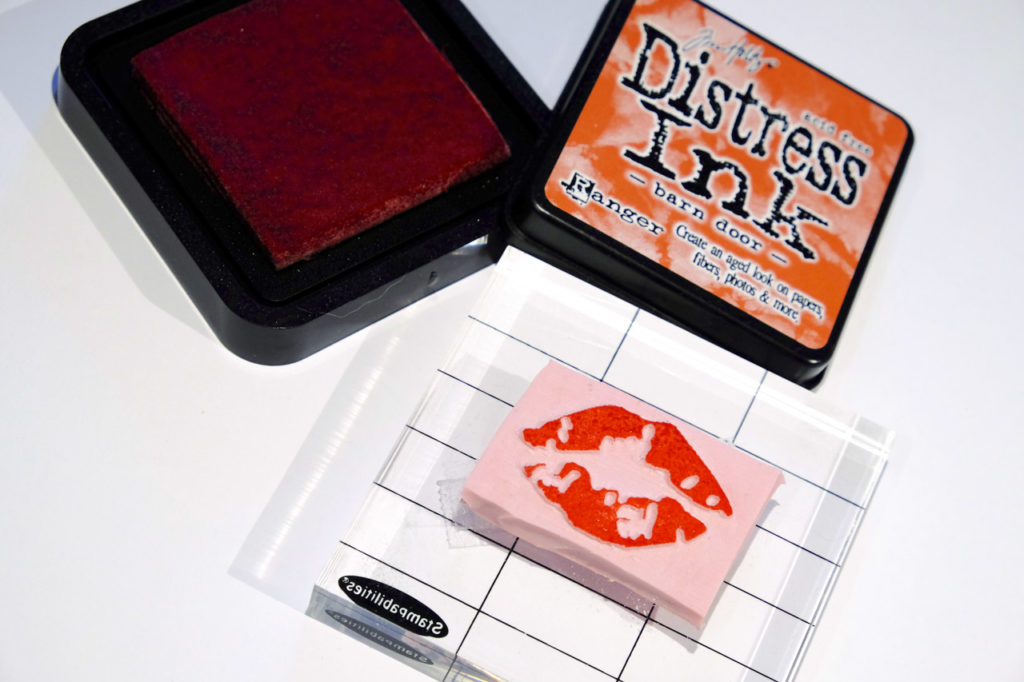
Now just ink it up, and stamp away!

Comments
Thanks so much! So need lots of tutorials with simple details like you shared with creating this stamp.
good idea, thanks for your testing.
Super. I would never have thought of the line fill.
nice job
i am thinking of buying this machine for a business and i have some questions. does it cut more than one paper at the same cut and would it cut thick (5 cm) wood or acrylic.
thanks
These kinds of machines can only cut one sheet of anything at a time. The maximum material thickness the Force can accommodate is .25″. A blade can cut about 2mm deep, but you would need to use the rotary tool, which is similar to a Dremel, to cut any wood beyond balsa and all acrylic.